


How to Teach Cursive Handwriting at Home
Teaching cursive handwriting at home can feel intimidating when a child is staring at a page of loops and joins. The good news is that you do not need to teach the whole alphabet at once. A calm progression from simple strokes to letter families, connected words, and meaningful copywork makes each lesson manageable.
Explore Grooved Learning's reusable cursive handwriting bundle for guided practice at home.
Knowing how to teach cursive handwriting involves a step-by-step plan that values steady muscle memory over speed. Grooved Learning suggests starting with basic strokes and lowercase letter groups before moving to full words and uppercase letters. This method follows the Science of Reading by building skill through regular, guided practice. Research shows that writing by hand promotes brain patterns that are vital for memory and learning new facts. To succeed at home, parents should focus on a correct pencil grip and small daily sessions rather than long, tiring lessons. Using tools like grooved workbooks helps children feel the correct path of each letter, which reduces early stress. By sticking to a steady routine, you help your child master how letters join so they can write in a fast and smooth way.
How to teach cursive handwriting step by step
Learning how to teach cursive handwriting is a steady process that starts with fine motor skills. Begin by setting a proper grip and posture. Then, move through set letter families and joining drills. Using a step-by-step plan helps children gain the flow and speed they need. This path builds a strong base for lifetime writing skills and builds trust.
Cursive is more than just a style of writing. It is a tool that helps the brain grow. A systematic review of curriculum-based handwriting programs found small to medium improvements in legibility, although evidence for speed and fluency was mixed. Grooved Learning suggests a clear path for home teaching. This keeps kids from feeling stuck and helps them enjoy the task. When children use their hands to form letters, it sparks brain areas used for learning.
Ready for writing
Before you start, check if your child is ready. Most kids begin when they can write print letters well. You should focus on how they hold the pen. A good grip stops hand pain and helps with control. Grooved Learning's grooved workbooks help guide the hand into the right spot. This makes the start much easier for young learners. Proper form is the first step toward clear writing.
The steps to skill
Following a set plan is the best way to teach. It breaks a big goal into small, easy wins. Here is how to teach cursive handwriting using a proven path:
- Check for readiness. Make sure your child has the motor skills needed for fluid curves. Most kids are ready around age seven or eight once they know print well.
- Set the base. Teach your child to sit up straight and tilt the paper at an angle. Show them a grip that lets the hand move freely across the page.
- Warm up with strokes. Start with simple curves, loops, and waves. These basic shapes are the building blocks for every cursive letter in the alphabet.
- Teach lowercase families. Group letters by their starting strokes, like the wave letters. This helps the brain and hand learn the patterns faster.
- Move to big letters. Once lowercase letters are easy, start the big letters. Many big letters look like print, but some need more work to master.
- Join the dots. Show how to join letters to form words without lifting the pen. This link is what gives cursive its speed and flow.
- Use useful copywork. Let your child write short poems or fun facts. This makes practice feel useful and helps them build cursive handwriting skills for real life.
Daily practice habits
Short bursts of work are better than long sessions. Aim for ten to fifteen minutes each day. This builds muscle memory without making the child tired. You can use Grooved Learning's tools to make this time fun. Their books use disappearing ink so kids can try again and again. This removes the fear of making mistakes and keeps the focus on progress. Daily review of letters they already know is also key. This helps kids keep their skills sharp as they learn new things.
Start with readiness, posture, and pencil control
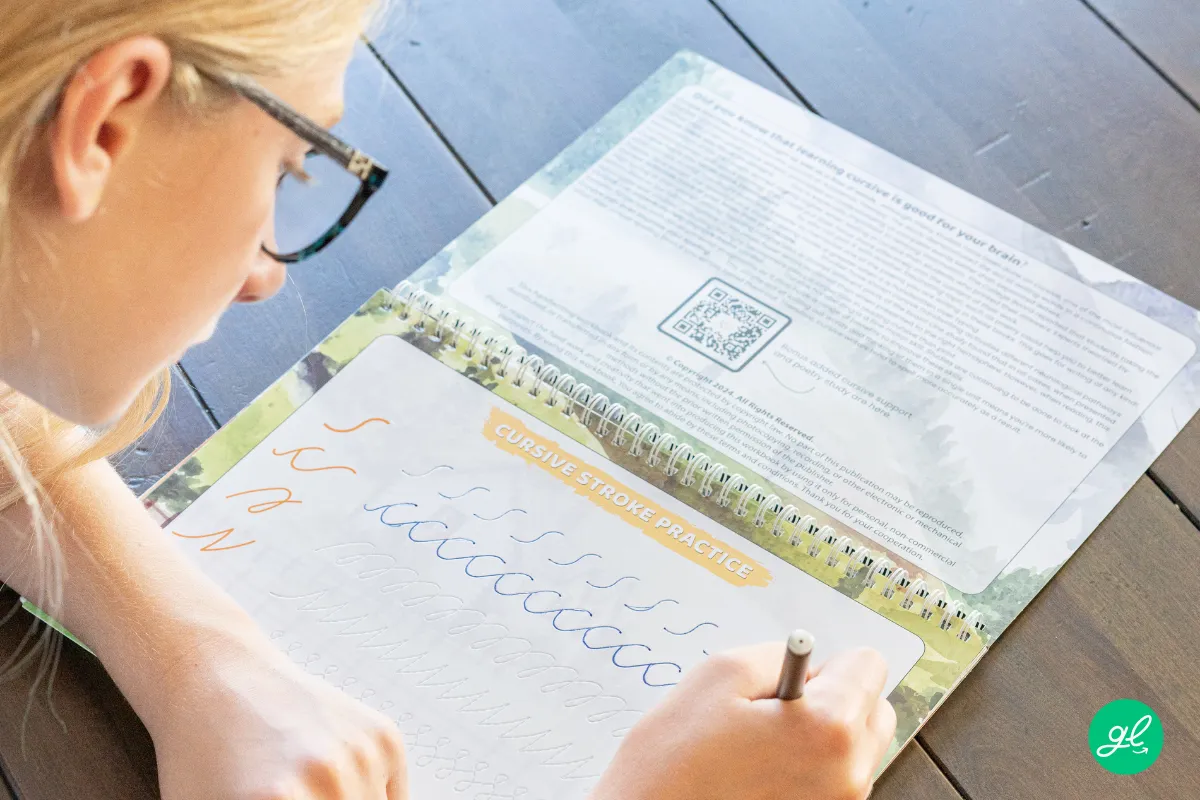
Before kids pick up a pen, they must be ready for the physical task of writing. Learning how to teach cursive handwriting starts with checking for fine motor skills and a stable core. Cursive relies on fluid, linked movements that are harder than the stop-and-start strokes used in print. Most kids are ready by age seven or eight, as this is when the small muscles in the hand grow strong enough for graded precision. Grooved Learning helps kids build cursive handwriting skills by giving them a path to follow, which lowers the physical stress of learning.
Check for cursive readiness
How do you know if your child is ready to start? Look for signs of good hand-eye coordination and the ability to draw smooth, curved lines. They should be able to sit upright for ten minutes and follow multi-step steps. If they still struggle to form basic print letters, they may need more time to grow. Research shows that writing by hand builds brain patterns that help with memory and learning new facts. Forcing the shift too early can lead to bad habits, so it is best to wait until they have a solid base in print.
Set up a comfortable space
A good setup at home makes a big difference in how well a child learns. The chair should be at a height where their feet can touch the floor and their elbows rest easily on the table. Posture matters because a slumped back can lead to hand fatigue and poor letter shapes. Place the paper at an angle, tilted left for right-handed kids and right for lefties, to allow for a natural arm sweep. The non-writing hand should stay flat on the paper to keep it steady. Grooved Learning's cursive fluency over time bundle provides a full system that fits into any home school space.
Focus on grip and warmups
Parents often worry about a "perfect" grip, but comfort is what truly matters for long-term success. A relaxed tripod grip, where the pencil sits between the thumb and index finger, is often best. Do not force a specific hold if your child is already writing well without pain. Instead, use short warmups to get the hands ready for work. Simple finger games or drawing big loops in the air can help prep the muscles. Small, daily sessions work better than long drills for building the muscle memory needed for smooth cursive. Consistent sensory-motor integration is key to making these new skills stick without causing frustration.
Teach lowercase letters in movement families
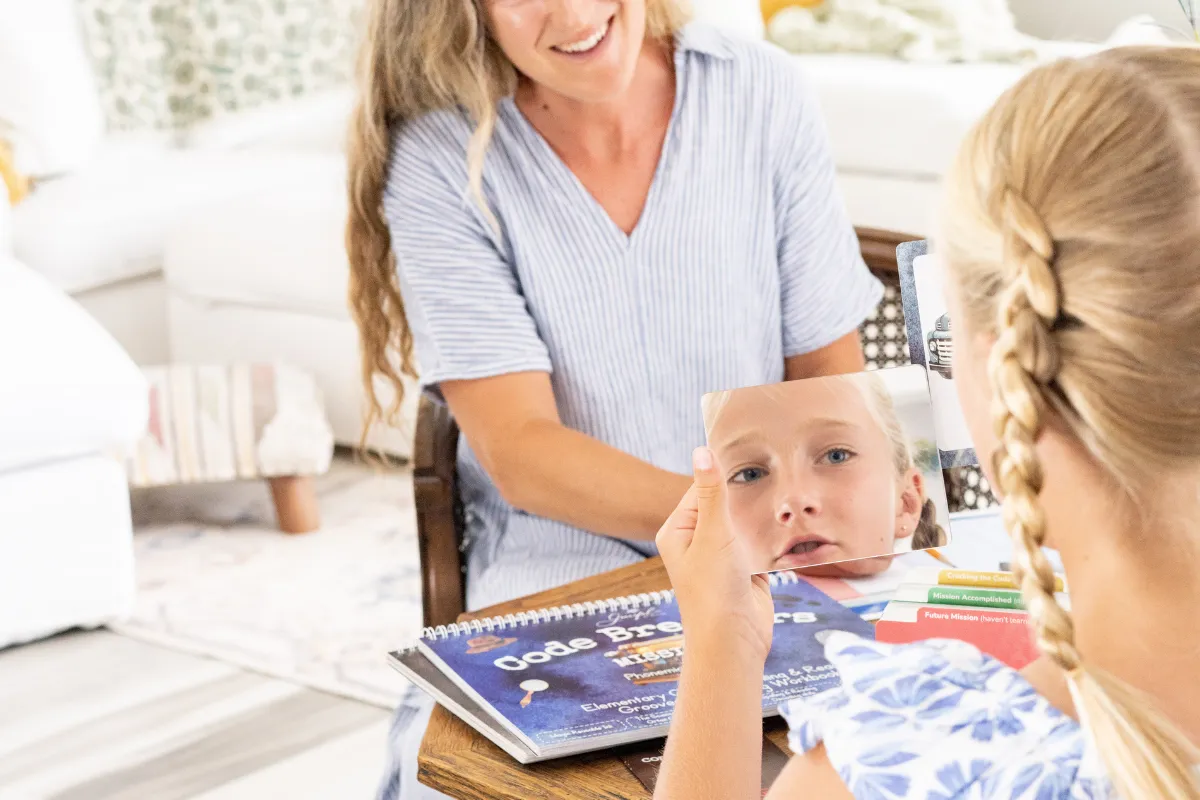
Teaching lowercase letters in groups called movement families is a smart way to help kids learn cursive. Instead of going from A to Z, you group letters that share the same first stroke. This method builds muscle memory fast. It lets kids master one motion before moving to the next.
Group letters by stroke patterns
When you teach cursive handwriting, starting with lowercase letters is best. Most words use these small letters. You can group them into four or five families based on their starting shape. For example, some letters start with a quick upward line. Others curve over the top like a small hill.
Grouping letters this way reduces confusion. It helps kids see that many letters share the same basic form. They do not have to learn 26 new movements. Instead, they learn a few key strokes and apply them to many letters. This builds cursive handwriting skills through simple, clear steps. It also keeps kids from feeling stressed by the ABC order.
Common letter family groups
There are many ways to group letters, but most programs use these main types. Each group focuses on a specific flow and direction. This approach makes teaching much more orderly for parents and teachers.
- Undercurve letters: These begin with a slanted line moving up from the bottom. Examples include i, u, and w.
- Overcurve letters: These start with a curve that moves up and over the top. The letters m and n are the most common here.
- Downcurve letters: These start with a curve that looks like a small "c." You use this for letters like a, d, and g.
- Loop letters: These have large loops that reach toward the top line. The letters l, h, and k fit this group.
The model-trace-copy-recall cycle
To teach each family, Grooved Learning suggests a four-step cycle. First, you show the letter and how it is formed. Second, the child traces the shape. This is where importance of cursive writing tools like grooved workbooks help. They guide the hand and build the right motion through touch.
After tracing, the child tries to copy the letter on their own. Finally, they try to write it from memory. This process is key for brain health. One study of first-grade cursive instruction found stronger growth in writing and reading skills for the cursive group, while noting that more research is needed. Using an orderly path ensures kids do not just draw the letters. They learn the fluid motion needed for fast, clear writing.
| Letter Family | Starting Motion | Letters |
|---|---|---|
| Undercurve | Upward slanted line from the bottom | i, u, w, t, r, s |
| Overcurve | Round curve over the top | m, n, v, x |
| Downcurve | Round stroke like a "c" | c, a, d, g, q, o |
| Loop | Tall loop to the top line | e, l, h, k, b, f |
Mastering these families prepares kids for the next step. Once they can form the letters, they can start to connect them. Connections are the core of cursive. By focusing on groups, you make the move to full words much easier. Grooved Learning finds that children who learn in families often reach fluency sooner than those who learn letters in order from A to Z.
Move from connections to meaningful copywork
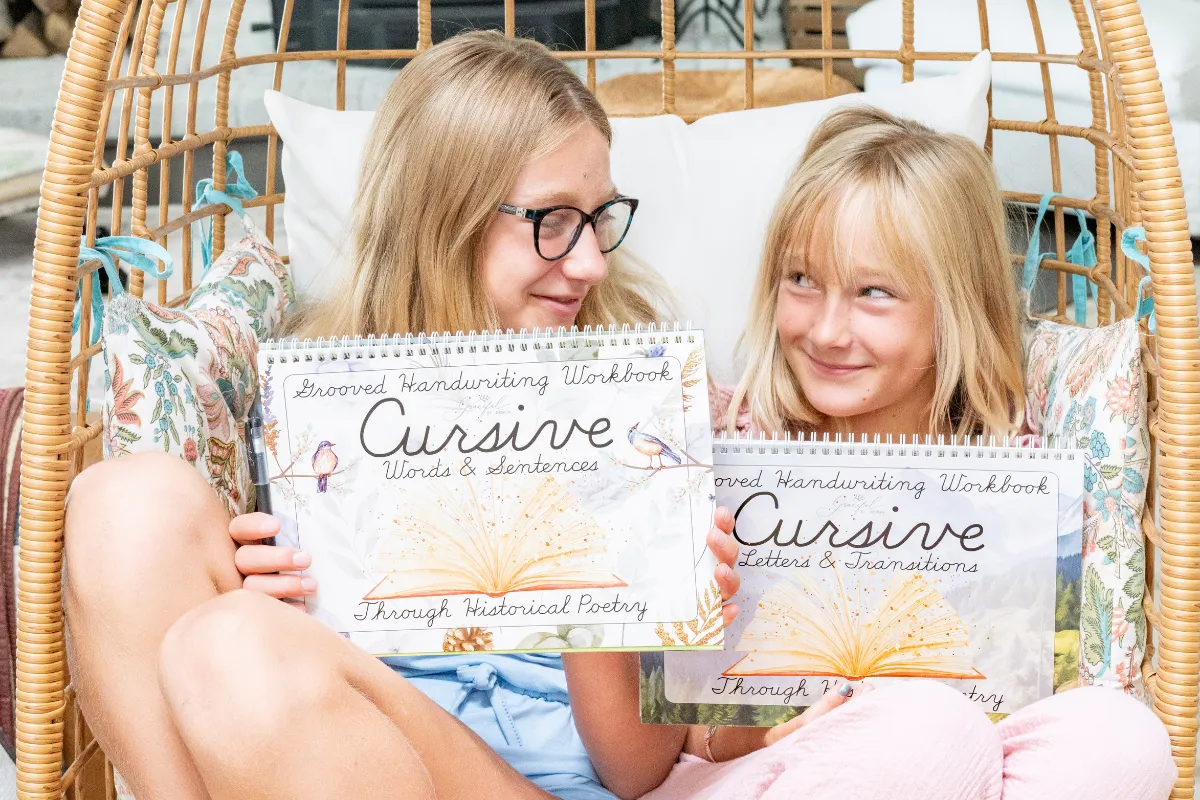
Teaching cursive requires a shift from single letters to fluid connections. Once a child masters letter shapes, they should practice joining them into short words and full sentences. Using meaningful copywork, such as poetry or animal facts, helps build rhythm and neatness. This shift ensures that cursive becomes a useful tool for sharing ideas and learning.
Mastering letter connections
Teaching cursive starts with simple strokes, but the true goal is fluid movement. After a child learns each letter, they must learn how to join them. This phase is vital for building the muscle memory needed for long-term success. Grooved Learning suggests starting with "letter families" that share similar patterns. By practicing common pairs, kids see how one stroke flows into the next without lifting the pen. This orderly method follows the Science of Reading by building fluency in small, clear steps. This process reduces mistakes and helps children feel proud of their work.
Multi-sensory tools can make this stage easier. For example, build cursive handwriting skills by using workbooks with physical grooves. These paths guide the hand, which helps reduce the stress of learning new joins. Research shows that sensory-motor integration is vital for creating the best learning space. When the hand, eyes, and brain work together, the child can focus on the flow of the words.
Using meaningful copywork
Once joins feel natural, it is time to move past random words. Meaningful copywork turns practice into a fun task rather than a chore. Instead of writing the same letter ten times, a child can copy a short poem or a fun fact about nature. This method keeps the brain active and helps the child see cursive as a way to share ideas. It also builds a deeper grasp of how letters form words, which helps with both reading and spelling skills. Grooved Learning's reusable books also allow for endless practice until the child feels sure of their skill.
Grooved Learning offers tools to support this growth. The Historical Poetry and Animal Kingdom books provide rich content for daily practice. These tools help develop cursive fluency over time by giving kids fun things to write. Copying beautiful text strengthens letter structure and supports reading growth. When kids write about topics they love, they stay focused and enjoy the process.
Focus on rhythm and neatness
In the early stages, speed is not the goal. Parents and teachers should focus on rhythm and neatness first. A steady pace allows the child to maintain proper form and control. Fast writing often leads to sloppy letters and hand pain. By slowing down, the child can find a natural rhythm that makes writing feel smooth and easy. Good handwriting comes from control, not from rush. Encouraging a relaxed hand will lead to better results than forcing tight movements.
Short, daily practice is the best way to improve. Practice for ten to fifteen minutes each day to keep the skills fresh. Check the child's pencil grip and posture often to prevent strain. Give the child good feedback to build their confidence and reduce worry. With time and the right tools, the move from single letters to full sentences will feel like a natural win.
Make copywork meaningful with Grooved Learning's Historical Poetry and Animal Kingdom cursive books.
A simple weekly cursive practice routine
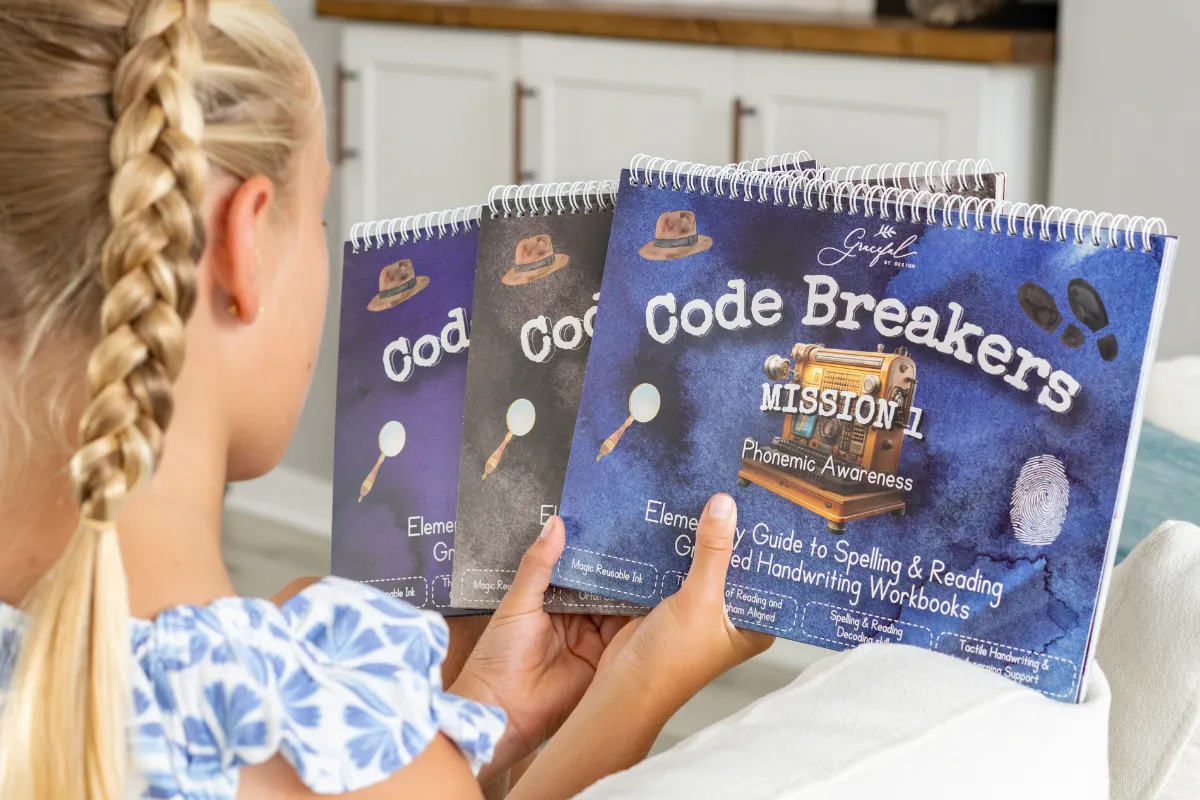
A good weekly plan for cursive uses short 10 to 15 minute blocks. Most parents find success with a three-part path: model, practice, and apply. This steady work helps build hand strength without causing pain. Regular practice for just a few days a week ensures long-term skill and steady growth for every young learner.
A short daily practice window
Learning how to teach cursive handwriting does not need long hours of desk work. Short, steady blocks are far more helpful for building deep skills. Grooved Learning suggests setting aside just 10 to 15 minutes for each session. This small window keeps the task from feeling like a chore. It also helps kids stay on task with their letter form.
When you keep the time brief, you prevent hand cramps and stress. Research shows that writing by hand helps the brain learn and store new facts. By practicing three to four times a week, kids can slowly build cursive handwriting habits that last. It is better to do a little bit often than to do a lot only once in a while.
The model, practice, and apply cycle
A clear set of steps makes home teaching much easier for busy parents. Start by showing the child a new letter or stroke. This is the model stage where you show how the pen moves. Next, let the child try the same move. This is the practice stage. Using tools like Grooved Learning's books can help here. The grooves guide the pen so kids do not get lost or upset.
The last step is the apply stage. This is when the child writes the new letter in a real word or a short note. This three-step path builds a strong link between the hand and the mind. It follows proven ways of teaching by using a clear and direct path. You can repeat the same set of letters for a full week until the child feels sure of their work.
Adapting to your child's needs
Every child learns at their own speed. Some days, your child might feel tired or bored. If their hand starts to shake or they lose focus, it is okay to stop. You can try again the next day or switch to a fun warm-up game. This keeps the mood light and helps build cursive fluency over time without any pressure.
For kids who find the work easy, you can add a bigger challenge. Have them write a full sentence or copy a short poem. Grooved Learning's animal books are great for this. They let kids practice while learning fun facts about the world. Always give kind words for their hard work. Good feedback helps them feel proud of their new writing skills.
What should you do when cursive practice gets frustrating?
If your child feels stuck or upset during cursive lessons, stop the clock and take a breath. Frustration often comes from poor motor control or fatigue rather than a lack of effort. You can help by breaking tasks into smaller steps or using multi-sensory tools that build cursive handwriting skills without added stress.
Check for physical fatigue
Handwriting needs deep focus and fine motor work. If letters become shaky or big, your child's hand muscles may be tired. A correct pencil grip is vital for success and helps prevent hand pain during work. Have your child shake out their hands or try a few "air writing" loops to reset their reach.
Short bursts of practice are often better than long drills. Grooved Learning suggests that systematic teaching and fluency building lead to better results over time. If you see signs of messy speed or heavy pressure, it is a clear sign to end the work early. Keeping practice time under fifteen minutes helps maintain the focus needed for proper letter formation.
Fix common letter mistakes
Messy cursive often stems from shaky slants or odd links between letters. You can help by focusing on one letter group at a time rather than whole words. Grooved Learning technology guides proper letter formation automatically, which helps reduce early stress for many students. This path builds a strong base through sensory-motor integration that helps the brain learn new moves.
If your child resists the work, try to change the medium. Use chalk on a walk or trace letters in sand to make the move feel like play. These changes use more senses and take the weight off the final look of the page. Once they feel more sure with the shapes, you can return to the book for more formal practice.
Know when to seek support
Most hurdles in home practice are small and easy to fix with patience and the right tools. But if your child still has hard times with basic loops or cannot keep a steady pace, they might need more help. An occupational therapist can check for motor issues that make writing hard. Early support ensures that your child stays on track to reach advanced cursive handwriting goals in the future.
Frequently Asked Questions
What is the best age to start teaching cursive writing?
Most teachers say to start when a child has simple print skills. This mostly starts around age seven or eight. Starting too early can cause stress if the child needs more hand skill. According to Grooved Learning, the best age to start varies, but it often follows print fluency. It is best to wait until they can form print letters with ease. This makes sure they have the hand strength they need for the smooth, joined strokes used in cursive writing.
Why is teaching cursive handwriting still important?
Writing by hand helps the brain learn and keep new facts. Cursive is very good for this. It builds better links in the brain than typing on a key board. According to research, writing in cursive helps brain patterns that assist with recall. It also helps with reading and spelling as children see how letters fit as one. Using Grooved Learning tools makes this task fun and easy for students. This skill stays useful for their whole lives.
Should I teach cursive or print first?
Most parents teach print first and then move to cursive. This is a common path in many schools. But some teachers start cursive as early as age five or six. It can help some children who struggle with print. According to Grooved Learning, some methods teach cursive letters very early. Starting with cursive can stop some bad habits like mirror writing. It is up to you to see what fits your child best. Either way, slow and steady practice is the key.
How can I help my child improve their cursive handwriting?
Success comes from short, daily practice. It is better to work for ten minutes each day than for one hour once a week. This builds muscle skill in the hand. Grooved Learning workbooks help by guiding each stroke with a deep groove. This stops kids from feeling bad when they make errors. You should also check that they hold their pen the right way. Using Grooved Learning tools makes practice feel like a game and builds real skill over time.
Build confident cursive writers at home
Grooved Learning's reusable cursive books give children tactile guidance while keeping practice purposeful and easy to repeat. Explore the full collection to find a calm next step for your child's handwriting journey.
Explore Grooved Learning's cursive handwriting books and choose the right next step.

Written by
Jenna ColemanJenna Coleman is the founder of Grooved Learning, a former classroom teacher, M.Ed., and mom of three based in Pennsylvania. She creates hands-on, multi-sensory educational tools grounded in the Science of Reading. Every article is written from real classroom and parenting experience.
Learn more about Jenna →


