


Handwriting Practice for Left Handed Kids: Tips Parents Need
Standard classroom setups often leave left-handed children struggling with smudged paper and cramped hands. In my years as an educator, I have seen how simple changes to a child's desk can turn these daily hurdles into a path for success.
Effective handwriting practice for left handed kids starts with simple setup changes that allow the small hand to move naturally and easily across the paper. These practical adjustments prevent your child from smudging their work or blocking their clear view of the letters as they move their hand across each page. By tilting the paper roughly 45 degrees clockwise and keeping the hand below the line, you help your child avoid a hooked wrist and hand pain. With the right seating and a proper grip, your child can develop clear and confident writing while feeling proud of their progress at home every day.
Shop Grooved Handwriting Workbooks for Left-Handed Kids →
Helping your child feel comfortable at the table is the first step toward better writing. You can build a strong base for their skills by getting the setup right: paper angle, seating, and pencil grip. This important path begins with understanding how small changes make a big difference.
Handwriting Practice For Left Handed Kids: How Can I Set Up the Right Paper Angle for My Left-Handed Child?
Teaching a left-handed child to write starts with a good desk setup. Many left-handed kids struggle with handwriting because they try to use the same angles as right-handed peers. This can lead to pain, slow writing, and messy work. Research shows that handwriting quality is linked to body position, paper placement, and pencil grip. By making a few small changes to how your child sits and holds their paper, you can help them feel more in control.
Mastering the Paper Tilt
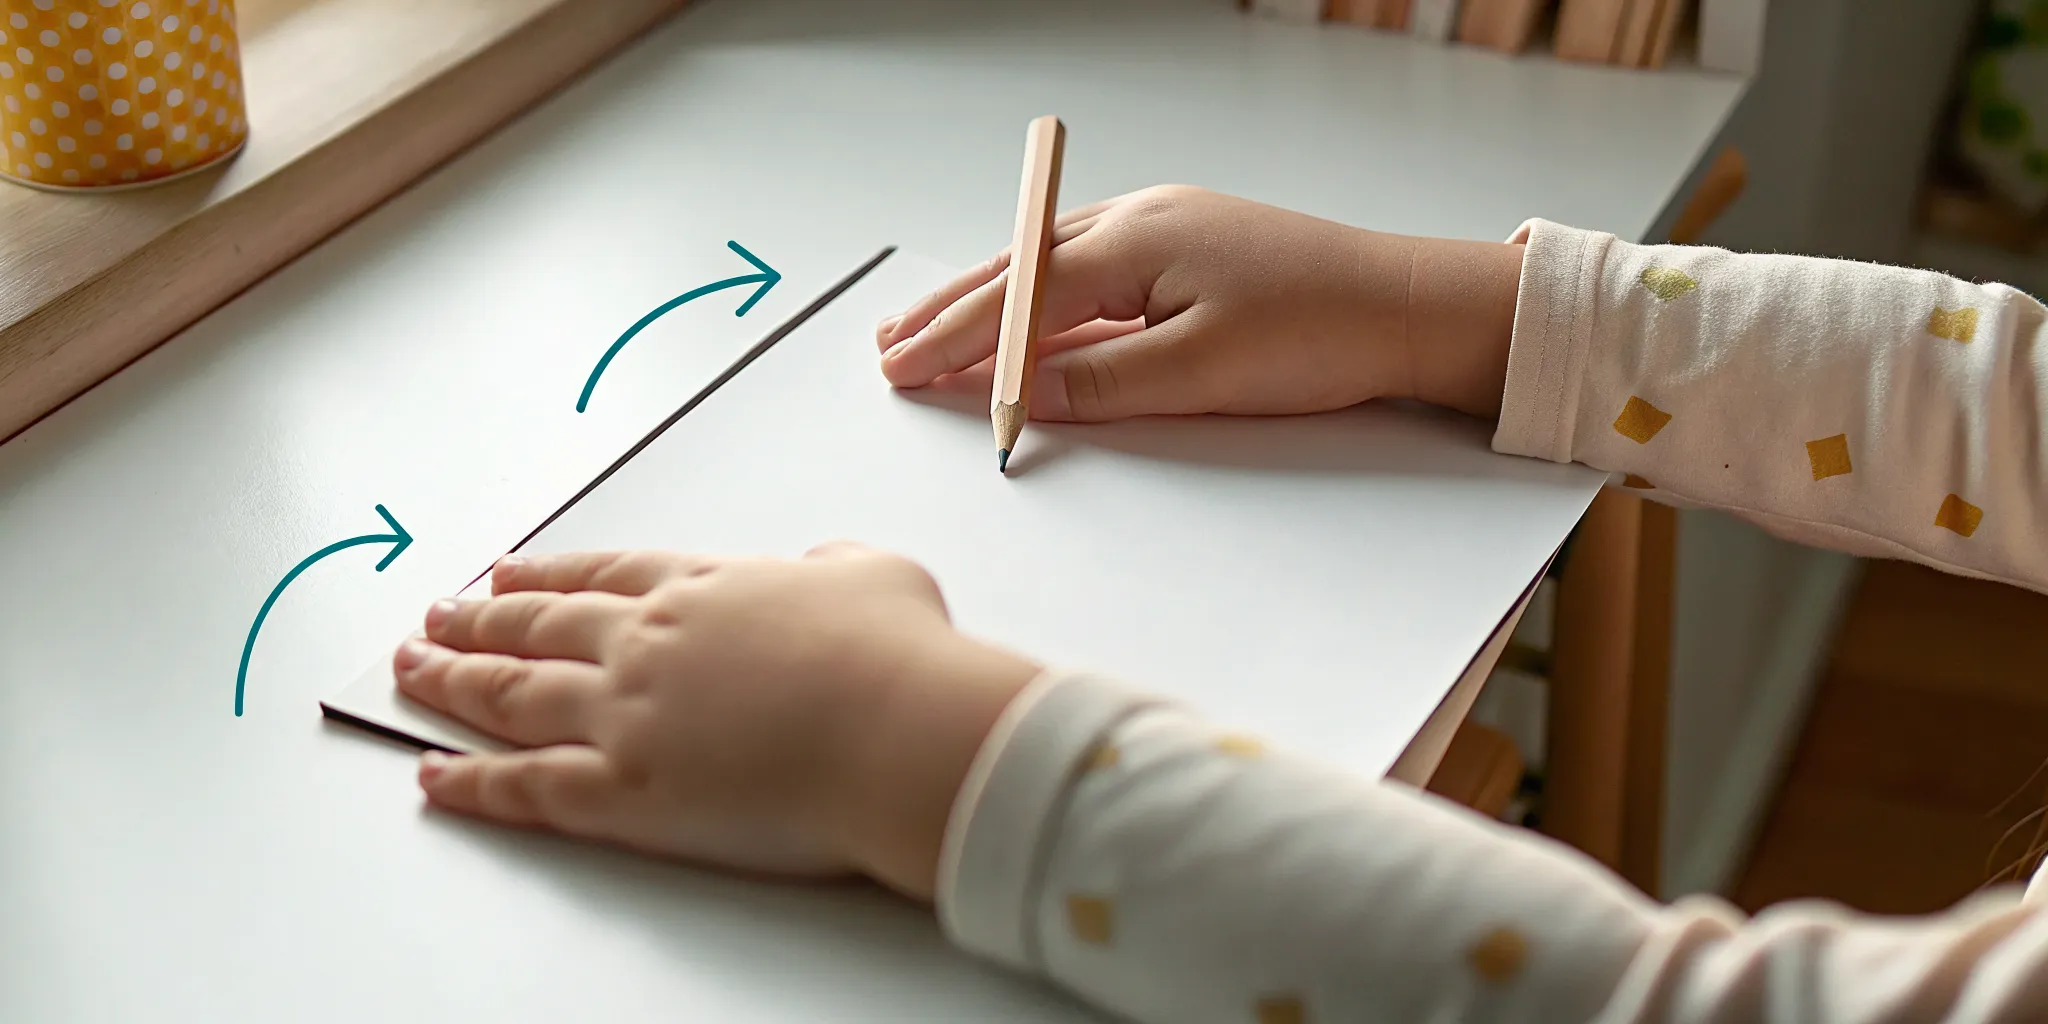
The most important change for a left-handed writer is the angle of the paper. Most children are taught to keep their paper straight or tilted to the left. For a lefty, this setup makes it hard to see the tip of the pencil and leads to smudging. You should rotate the paper roughly 45 degrees clockwise so the top right corner points down slightly. This angle allows your child to see the letters as they form them and keeps their hand from covering the fresh ink.
When the paper is tilted to the right, your child can pull the pencil toward their body. This is a much more natural motion than pushing it across the page. It also helps them keep their wrist straight and below the writing line. This simple shift reduces the need for a hooked wrist, which is what many lefties use to see their work. Using a proper paper tilt is a key part of effective handwriting practice for early learners.
Finding the Best Seating Position
Where your child sits at the table also matters. Left-handed writers often need more space on their left side to move their arm. If they sit too close to a right-handed person, their elbows may bump. Try to seat your child on the left side of the table or at a corner. This gives them plenty of room and helps them keep a stable body posture, which is fundamental to writing speed and quality during lessons.
Check the height of the chair and desk as well. Your child's feet should be flat on the floor with their knees and hips at a 90-degree angle. If the desk is too high, they will hunch their shoulders. This makes it harder to control the pencil. A steady base allows them to focus their energy on their hand movements rather than balancing their body. Using tools like Grooved Handwriting Workbooks can support this by giving them a clear path for every stroke.
Refining the Pencil Grip
A proper pencil grip is the final piece of the setup. Many left-handed kids grip the pencil too tightly or too close to the tip. This makes it hard to move the pencil well and leads to hand pain. Help your child use a tripod grip, where the pencil rests on the middle finger and is held by the thumb and index finger. They should hold the pencil about 1 to 1.5 inches above the tip to keep their fingers from blocking their view of the paper.
Watch how hard your child presses on the page. If they press too hard, their hand will tire fast. If they press too light, the letters will be hard to read. Using a grooved surface can help them learn the right amount of force through touch. Once they have a comfortable grip, they can move on to pre-writing tracing activities to build lasting muscle memory.
How Can I Prevent My Left-Handed Child From Smudging?
Left-handed children often face extra problems when they first learn to write. One of the biggest issues is smudging. This happens because a left-handed writer moves their hand across the page from left to right. As they write, their palm or the side of their hand drags over the fresh ink, leaving messy streaks on the paper and ink on their skin. Many kids find this tough, and it can make them feel like they are bad at writing.
Why Kids Hook Their Wrists
To avoid smudging and to see their work, many left-handed kids start to "hook" their wrist. This means they curve their hand over the top of the line they are writing. While this helps them see the letters, it can lead to real pain in the hand and wrist. A hooked setup also makes it hard to use a good grip. Over time, this bad habit can slow down how fast they write and make their letters look messy.
When a child hooks their wrist, their whole posture often suffers. This makes it hard for them to keep steady pressure on the paper with their pen. I have seen many students struggle with this in my time as a teacher. But I have also seen that it is a habit that can be fixed with the right steps.
Teaching the Underhand Position
The best way to stop the hook is to teach the underhand position. In this setup, the child keeps their hand below the writing line. This gives them a clear view of their work without needing to curve their wrist. To make this feel normal, tilt the paper about 30 to 45 degrees to the right. This angle aligns the paper with the natural arc of a left arm and lets the hand move smoothly across the page without touching any wet ink.
Using tools like Grooved Handwriting Workbooks can also help build new habits. These books have grooved paths for the pen to follow as the child writes, giving kids a way to feel the shape of each letter through touch. When they do not have to worry as much about where the pen goes, they can focus on keeping their wrist straight.
Practical Tips to Stop Smudging
Along with hand position, you can use a few other tricks to reduce the mess. Quick-dry pens or pencils with hard lead are great choices for lefties. These items set fast so they are less likely to smear. You can also place a clean sheet of paper under their writing hand as a shield to keep their hand from touching the ink. Encourage your child to sit with their chair a bit to the right of the center of the desk. This gives their left arm more room to move as they work across the page.
Browse Grooved Learning Workbooks to Support Your Left-Handed Writer →
Which Letters Are Hardest for Left-Handed Kids?
Helping a left-handed child learn to write needs a clear plan. Many letters are designed with right-handed writers in mind, which can make the strokes feel awkward for a leftie. With the right letter recognition practice and a few simple tips, your child can find their way. The goal is to make writing feel easy and natural.
Understanding Stroke Direction
Most letters are written from left to right. For right-handed kids, this means they pull the pencil. But for left-handed kids, many side-to-side lines feel like a push. This push can cause the pencil to dig into the page and lead to shaky lines. The dig happens because the pencil lead hits the paper at a sharp angle.
You can help by teaching them to pull where they can. For instance, when crossing a "t" or "f," some lefties find it easier to go from right to left. This small swap stops the pencil from sticking and makes the writing motion smoother. Grooved Learning workbooks are great for this because the grooves guide the hand along the correct path.
Mastering Common Trouble Letters
Some letters are hard for any new writer. But for lefties, letters like "b," "d," "p," and "q" are extra tough because they have loops and sticks that look like mirror images. Left-handed kids often get mixed up about which way to start the loop. They might also slant their letters in a way that looks different from right-handed writing.
A slight slant to the left is fine for a left-handed writer. It often feels more natural than trying to slant to the right. Do not force them to tilt their letters like a right-handed person does. Instead, focus on where each letter starts. Grooved pages are a big help here because they keep the pencil on the right track. The child learns the shape by touch, which builds strong muscle memory and keeps the letters clear.
The Timing of Hand Dominance
Parents often worry when they see a young child swap hands while drawing. It is key to know that this is a normal part of growth. Most kids show a clear hand choice by age three, but for some, hand preference may not be set until they are five or six years old. If your child still uses both hands at age four, do not worry.
Let them play and draw with both sides. Never force a left-handed child to use their right hand, as this can cause stress and slow down progress. When they do pick a lead hand, give them tools that fit how they work. Grooved Learning workbooks work for both hands and help any child build the skills they need to write well.
Building Confidence With Short Practice Routines
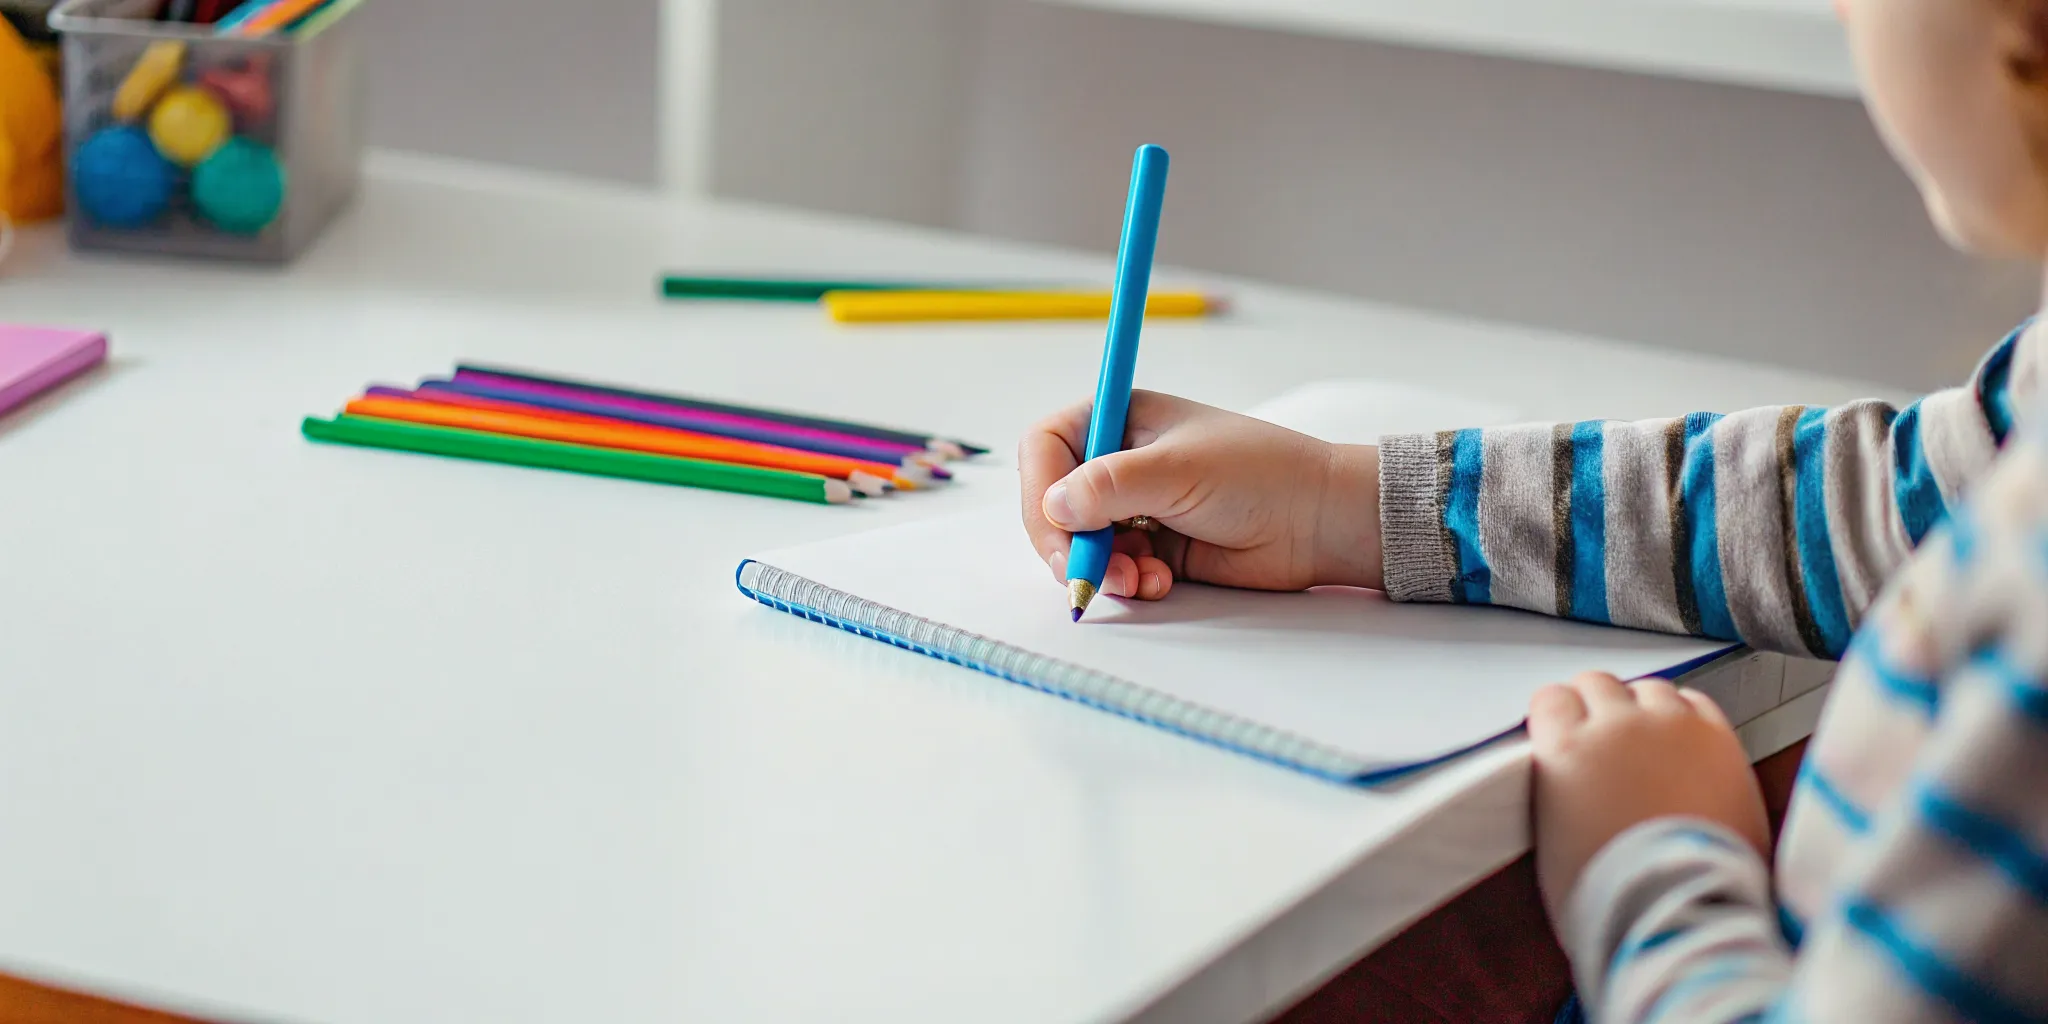
Helping a left-handed child gain control over a pencil takes time and care. For many young learners, long writing tasks can feel like a chore. This is why short, focused sessions are much better for building skill. By keeping the mood light and the time brief, you can turn handwriting practice for left handed kids into a positive part of the day.
Keep It Short and Sweet
Most children do best with just 5 to 10 minutes of work at a time. This small window keeps them from getting tired or upset. It is better to have one quick, good session than a long one that ends in stress. When you stick to a small time limit, your child knows the work will end soon, which helps them stay focused on making each letter well.
Praise the hard work your child puts in, not just the final result. If they try a new grip or stay inside a line, let them know you saw it. Kind words build the confidence they need to keep going. Over time, these small wins add up to big gains in how they write.
Set Up for Success
Before any writing starts, make sure the workspace is ready. Left-handed kids need a few simple changes to a desk to stay comfortable. One big factor is how they hold the page in place. If the page slides around, the child will struggle to make clear marks. Watch how much force your child uses on the page. If they push too hard, the hand will cramp. If they are too light, the lines will be hard to see. Practice light, smooth strokes during a daily routine to help them find the right balance.
A Simple Five-Step Routine
Use these steps to create a low-pressure routine that works for your home. These pre-writing tracing activities are a great way to start each session before moving to letters.
- Start with a quick warm-up by having your child stretch fingers or trace large shapes in the air.
- Check the paper angle to make sure it is tilted to the right to help the arm move freely.
- Have your child place the non-writing hand on the corner of the page to keep it still.
- Focus on just one or two letters per session so the task feels easy to finish.
- End the practice on a high note by letting your child pick a favorite letter from the page.
Mixing in multi-sensory tools can also help. Grooved Learning uses tactile paths in its workbooks to give kids physical feedback as they move the pencil. This helps them feel the correct shape of each letter. When kids can feel, see, and hear the work, they learn faster and stay more engaged.
Common Myths About Left-Handed Handwriting
About ten percent of people are left-handed, yet many parents worry that their child will always have messy work or face learning delays. These ideas are myths that can hold a child back from feeling confident. The right tools and tips make a big difference for every learner.
Neatness and Hand Dominance
One common myth is that left-handed kids cannot write neatly. This is not true. Messy writing often comes from poor body or paper position rather than which hand a child uses. Research shows that poor handwriting is linked to how a child sits and holds their pencil. When you help your child find the right setup, they can write just as well as anyone else.
You may also hear that you should try to change a child to their right hand. This is an old idea that can cause stress and slow down learning. It is best to help your child use the hand they naturally prefer. For early writing skills, check out these pre-writing tracing activities to build hand strength.
Gimmicks Versus Real Tools
Some people think that special tools for lefties are just a gimmick. While you do not need a special desk, some tools really do help. For example, a left-handed child often smudges their work because their hand moves over the fresh ink. Using Grooved Handwriting Workbooks helps because the grooves guide the pen. The ink also disappears, which reduces the mess.
| Common Myth | The Reality |
|---|---|
| Lefties cannot write neatly. | Proper paper tilt and grip lead to clear, neat work. |
| Switching hands is better. | Forcing a hand change causes stress and slows progress. |
| Special tools are gimmicks. | Tactile tools and ergonomic grips help build muscle memory. |
| Left-handedness means delays. | Hand choice is not linked to a child's ability to learn. |
Learning and Development Facts
Is left-handedness linked to learning trouble? There is no proof for this. A child's hand choice does not change how smart they are or how well they can read. If your child struggles with letters, it is likely due to a lack of practice or a need for a new approach. You can find more tips in our guide on letter recognition worksheets to help them get started.
The goal is always to help the child feel good about their work. By debunking these myths, we can focus on the real ways to help. Simple changes, like tilting the paper to the right, can stop the hooked wrist and make writing feel easy.
How Grooved Learning Workbooks Support Left-Handed Kids
Teaching a left-handed child to write often feels like a hard puzzle. Standard paper and pens can lead to smudges, tired hands, and messy letters. Grooved Learning offers a solution with workbooks that use grooved paths to guide the hand. This help is especially valuable for kids who use their left hand and often block their own view of the page as they work.
The Benefit of Touch and Feel
Most kids learn to write by looking at a model and trying to copy it. For left-handed writers, this is harder because their hand often covers the letters they just wrote. Grooved Learning solves this with grooved pages that give the child a tactile guide. The path tells the hand where to go, helping kids learn the shape of each letter without needing to see the pencil tip.
This way of learning is good for all kids, but it is a big win for those who write with their left hand. The grooves help kids keep a steady hand and even pressure, leading to better letters and less hand pain over time. It turns a hard task into a smooth one.
Building Muscle Memory the Easy Way
Muscle memory is the secret to good writing. It lets the hand move without the brain needing to think about every turn. Grooved Learning workbooks build this memory by making practice easy. The grooved paths act like training wheels for the hand. As the child follows the path, their muscles learn the right move for every stroke.
This method works well no matter which hand a child uses. By using Grooved Handwriting Workbooks, kids gain control and speed. They can focus on the joy of learning rather than the struggle of holding a pencil. It takes away the fear of making a mess and gives them pride in their work.
Stress-Free Practice With Fading Ink
Many left-handed kids feel bad when they smudge their work or make a mistake. Grooved Learning uses special ink that fades away in about 30 minutes. This means a child can use the same page many times, taking the pressure off to get it right the first time. If they make a slip, they just wait and try again.
This system grows with your child. The Early Learning set is best for kids aged 3 to 5 just starting out. Older kids can use Cursive books to build a fast, clear style. For those who also need help with reading, the Code Breakers Curriculum links writing to spelling for a full boost to their skills.
Frequently Asked Questions
Where should a left-handed child sit in a classroom?
A left-handed child should sit on the left side of a desk to prevent bumping elbows with right-handed peers. They also need enough space on their left side to move their arm freely. Research shows that poor seating and body position are linked to lower handwriting quality in students.
How can I prevent my left-handed child from smudging their writing?
Smudging happens because a left-handed writer moves their hand across the ink they just wrote. To stop this, teach your child to keep their hand below the writing line, also called the under-writer position. Tilt the paper about 45 degrees clockwise so they can see their work while keeping their hand clear of the text.
Are there specific workbooks for left-handed kids?
Yes, tools designed for left-handed writers can help build confidence. Grooved Learning offers workbooks with grooved paths that guide the pen along the right path. These grooves help children build muscle memory even if they cannot see the letter clearly as they write. The disappearing ink workbooks allow your child to practice many times until they build confidence.
When should I start handwriting practice for my left-handed child?
Most children show a hand preference between ages two and three, though some may not show a clear choice until age five or six. Start gentle practice once your child shows a steady lead hand. Focus on basic skills first, like tracing lines and circles. Waiting for this clear choice helps avoid stress during early learning.
Ready to Help Your Child Master Left-Handed Writing?
Left-handed kids often feel frustrated when their hand smudges the ink as they write. If these habits stick, they can lead to a cramped hooked wrist and slow writing speeds. You can help them avoid these hurdles with a proper workspace and tools designed for their needs. Handwriting is a skill that lasts a lifetime, but the window to build good habits is small. By acting now, you give them the chance to master pencil control before poor habits set in stone.

Written by
Jenna ColemanJenna Coleman is the founder of Grooved Learning, a former classroom teacher, M.Ed., and mom of three based in Pennsylvania. She creates hands-on, multi-sensory educational tools grounded in the Science of Reading. Every article is written from real classroom and parenting experience.
Learn more about Jenna →


